© 2022 | http://angiesrecipes.blogspot.com
  © 2022 | http://angiesrecipes.blogspot.com
 Infusing or flavouring oil is a great way to capture the flavour of fresh herbs without preserving the herbs themselves. However, homemade herb-flavoured oils do not stay fresh for long and should be used within a short time, esp. the one with fresh herbs, or they go rancid and get spoiled very quickly. It's easy to make flavoured oils at home and they make a great gift for the friends and family.
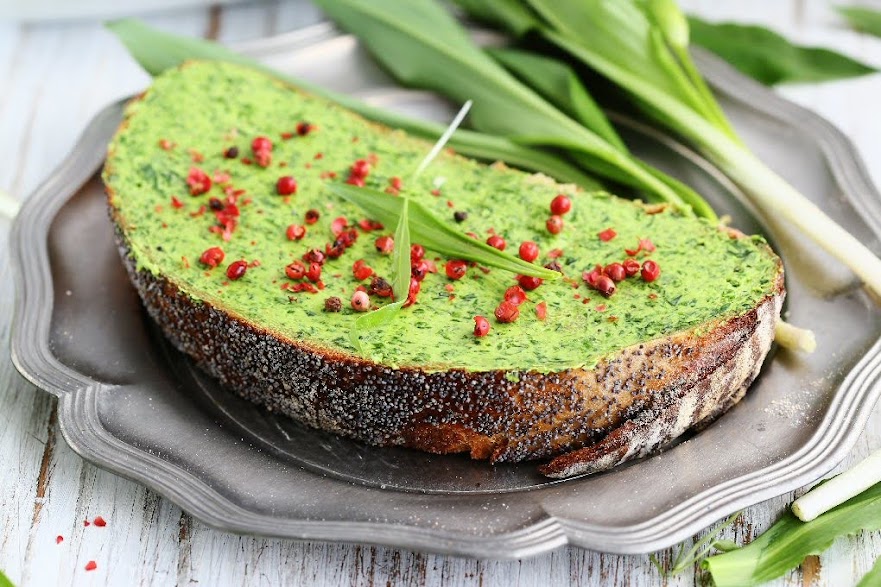
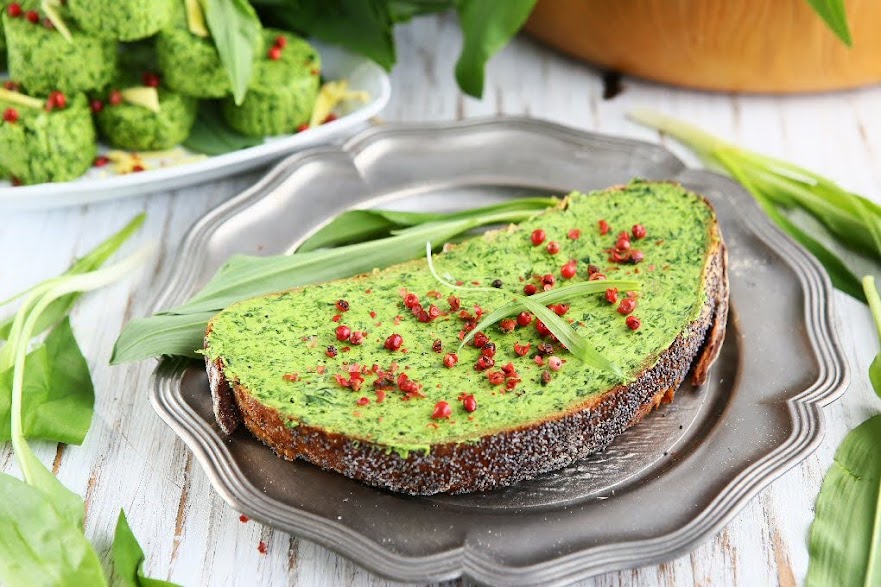
Incorporating wild garlic into oil means you can enjoy its health benefits all year around and inject this distinctive SPRING flavour into all sorts of dishes like salad dressings, marinades, a dip for homemade bread, meat, fish, grilled vegetables, or drizzling over soups or pizza. You can even use it for sautéing and stir-frying, but its flavour is most intense if used uncooked. If using fresh herbs, strain them out of oil by pouring oil from bottle through a strainer or coffee filter and into a new bottle. Dried herbs can remain in oil, but oil will stay fresh a bit longer if they are also strained out.
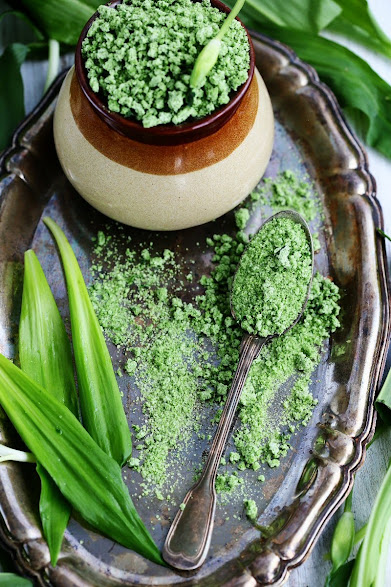
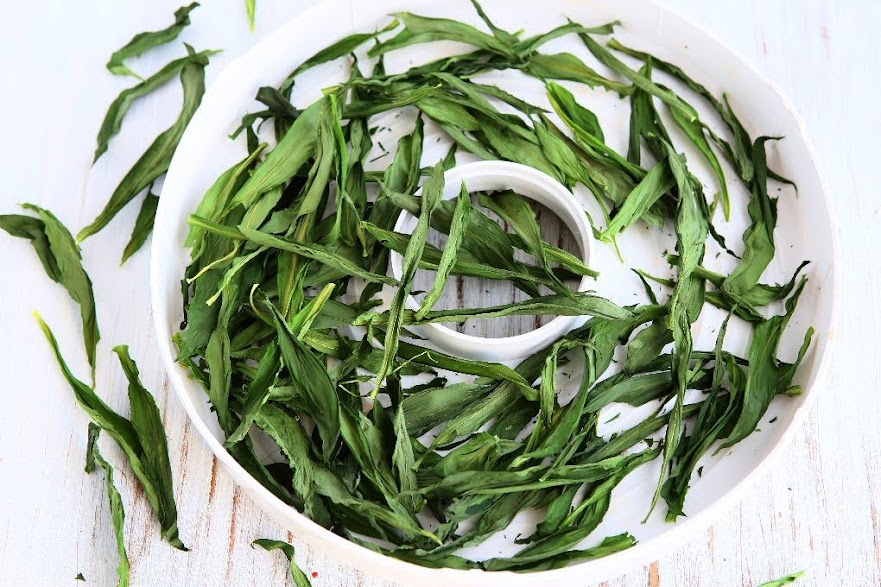
Dehydrator-drying is an easy and effective way to dry herbs for best flavour and quality. Once the moisture is extracted, not only is the shelf life long but the flavour intensified. Simply place washed herbs in a single layer on dehydrator trays. Set the thermostat to 30C/85F to 50C/120F. Drying time varies from 1 – 3 hours. Check your dehydrator manual for exact temperature and drying time.
- 300-500 g Wild garlic leaves, rinsed and spinned dried
- 500 ml Light virgin olive oil (or cooking oil if you prefer)
|
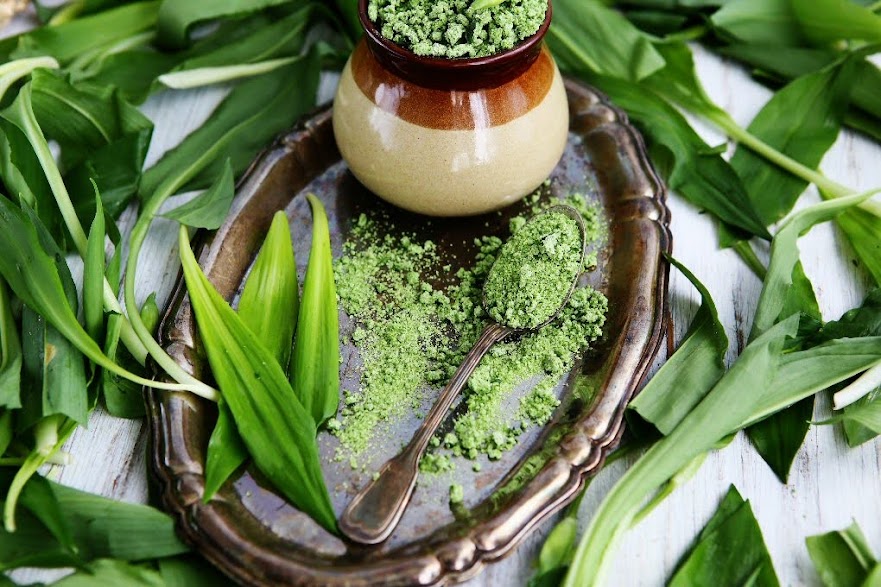
- Wash and spin dry the wild garlic leaves. Spread the prepared wild garlic leaves in a single layer on dehydrator trays. Set the dehydrator to 30C/85F to 50C/120F. Dry 1-3 hours or until the herbs are dry and crumble easily. Do check your dehydrator manual for exact temperature and drying time.
- If you don't have a dehydrator, set your oven on it's lowest, spread the wild garlic leaves on cookie sheets and dry them with the door propped open a little. Periodically check the leaves and move them round, so that they dry evenly.
- Sterilize clean glass bottles or jars by boiling in water for 10 minutes. Allow the bottles or jars to dry thoroughly before using.
- Place the dried wild garlic leaves in a tall cylinderial container or a tall pitcher and add in oil. Mix for 30 seconds with an immersion blender until combined. You can do this with a food processor too.
- Seal the bottles with the lids and leave them in a cool, dark place for about one week before using. The intensity of the flavour increases over time. Strain the herbs if desired.
 © 2022 | http://angiesrecipes.blogspot.com
 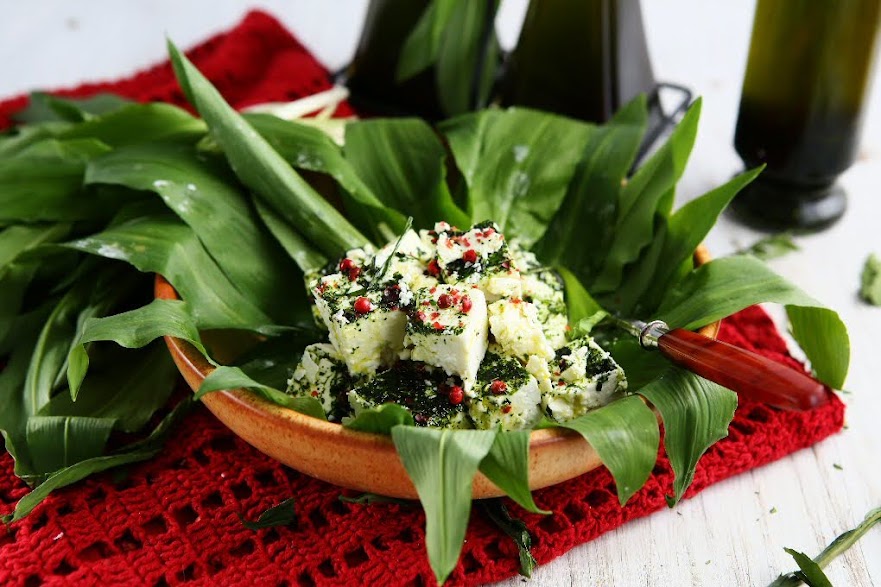 © 2022 | http://angiesrecipes.blogspot.com
  © 2022 | http://angiesrecipes.blogspot.com